How to Clean Your Sonicare Electric Toothbrush: Easy Steps
The easiest way to clean your Sonicare electric toothbrush If you’re curious about how your Sonicare electric toothbrush stacks up, our comparison of Sonicare vs. Oral-B can offer insights. is by rinsing the brush head and handle under warm running water after each use. Make sure to also detach the brush head regularly for a deeper clean. This simple routine keeps your toothbrush hygienic and working at its best.
Keeping your Sonicare clean is about more than just appearances. It helps prevent bacteria buildup and ensures your brush continues to deliver an effective clean for your teeth. Many users find that a little regular attention prevents bigger issues down the road, making your brushing routine more pleasant.
- Rinse brush head and handle after every brush.
- Remove brush head for a deeper clean periodically.
- Wipe down the handle gently.
- Avoid harsh chemicals.
- Let parts air dry completely.
Let’s walk through exactly how to get your Sonicare sparkling clean, step by step, so you can keep enjoying that fresh-mouth feeling.
Keeping Your Sonicare Sparkling: A Simple Cleaning Guide
So, you’ve got a Sonicare electric toothbrush and you want to keep it in tip-top shape. That’s smart thinking! A clean toothbrush isn’t just about looking good; it’s key to a healthy mouth. We’ve all been there, wondering if a quick rinse is enough. Let’s break down how to properly clean your Sonicare so it works its best for you.
Daily Care: The Quick Rinse Routine
Your Sonicare is designed to be easy to clean. The most important step happens right after you brush your teeth. Think of it like washing your dishes right after a meal. It prevents food particles and toothpaste residue from drying and becoming a sticky mess.
Rinsing the Brush Head and Handle
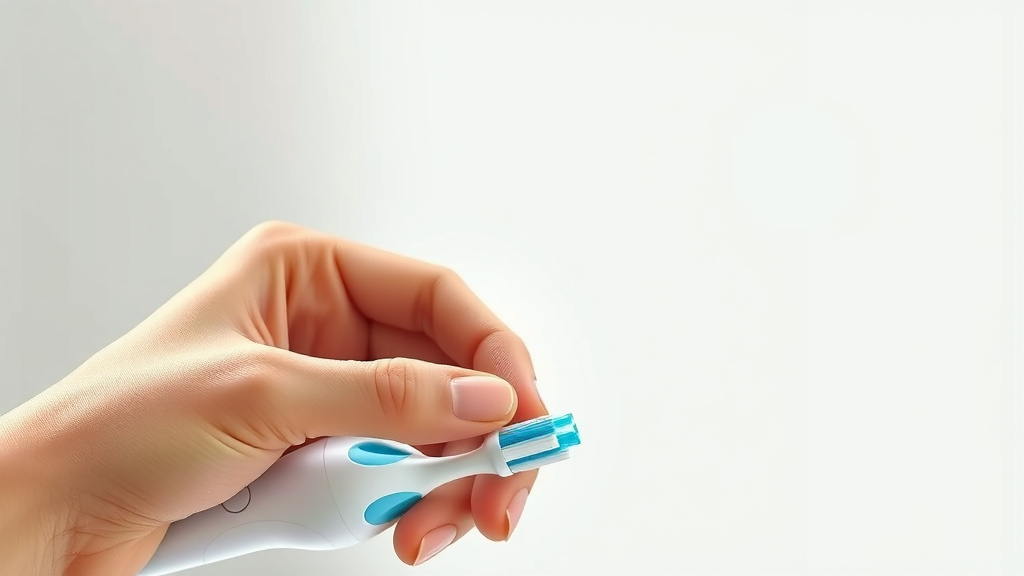
After you’ve finished brushing, detach the brush head from the handle. This is a vital step for preventing buildup. Run both the brush head and the handle under warm running water. Let the water flow over them for about 20-30 seconds. This helps to wash away any lingering toothpaste or debris. Make sure water gets into all the nooks and crannies.
Wipe Down the Handle
While the brush head is off, take a moment to wipe down the handle. A soft, damp cloth works wonders here. You don’t need anything fancy. Just a gentle wipe will remove any toothpaste splatter or fingerprints. This keeps the handle looking sleek and hygienic.
What NOT to Do for Daily Cleaning
It’s just as important to know what to avoid. Never submerge the entire Sonicare handle in water. It’s an electronic device, and water damage is a real concern. Also, resist the urge to use harsh chemicals or abrasive cleaners. These can damage the plastic and seals over time. Stick to water and a soft cloth for everyday cleaning.
Weekly Deep Clean: Getting Into the Details
Once a week, it’s a good idea to give your Sonicare a more thorough cleaning. This ensures you get into those areas that might be missed with a quick daily rinse. Think of it as a spa day for your toothbrush!
Detaching the Brush Head for Thorough Cleaning
This is where you really get to tackle any potential buildup. Gently pull the brush head straight off the handle. You might see some toothpaste residue or even a bit of gunk where the brush head connects to the handle. This is perfectly normal and why this step is so important.
Cleaning the Brush Head Itself
For the brush head, you can rinse it thoroughly under warm water. If there’s stubborn residue, you can use a soft brush, like a small cleaning brush or even a clean toothbrush dedicated to cleaning, to gently scrub away any buildup around the bristles and the neck of the brush head. Make sure to rinse it really well afterward.
Cleaning the Handle’s Connection Point
The part of the handle where the brush head attaches can sometimes collect moisture and toothpaste. Use a damp cloth or a cotton swab dipped in water to carefully clean this area. You want to remove any residue that might be clinging there. Be gentle and avoid pushing water into any openings.
Soaking the Brush Head (Optional, with Caution)
Some people like to give their brush heads a brief soak to help loosen things up. If you choose to do this, it’s generally recommended to use plain water or a very mild, diluted solution of water and a tiny bit of mouthwash. We found that a soak of no more than 10-15 minutes is usually sufficient. After soaking, rinse everything thoroughly and let it air dry. Remember, the goal is to remove buildup, not to disinfect with harsh chemicals.
Drying and Storage: The Final Touches
Proper drying and storage are essential for keeping your Sonicare hygienic between uses. Moisture can be a breeding ground for bacteria, so taking these extra steps can make a big difference.
Air Drying is Best
After cleaning, whether it’s a daily rinse or a weekly deep clean, you need to ensure all parts are completely dry before reassembling or storing. The best way to do this is to let the brush head and handle air dry separately. You can stand the brush head upright in a cup or on a clean surface. Let the handle stand or lay it on a clean towel. Avoid storing them immediately after cleaning if they are still damp.
Proper Storage for Longevity
Once everything is dry, you can reattach the brush head. Store your Sonicare in a clean, dry place. Many people keep theirs on the bathroom counter. If you have a travel case, ensure it’s also clean and dry before storing your toothbrush. Keeping the brush head covered, if your model comes with a cover, can also help keep it clean. Research suggests that exposure to air helps parts dry faster, which is good for preventing microbial growth (CDC).
When to Replace Your Brush Head
Even with the best cleaning routine, brush heads don’t last forever. Most manufacturers recommend replacing your brush head every 3 months. You might notice the bristles fraying or becoming less effective before then. A worn-out brush head won’t clean your teeth as well, no matter how clean it is. Many Sonicare models even have indicator bristles that fade to remind you it’s time for a change.
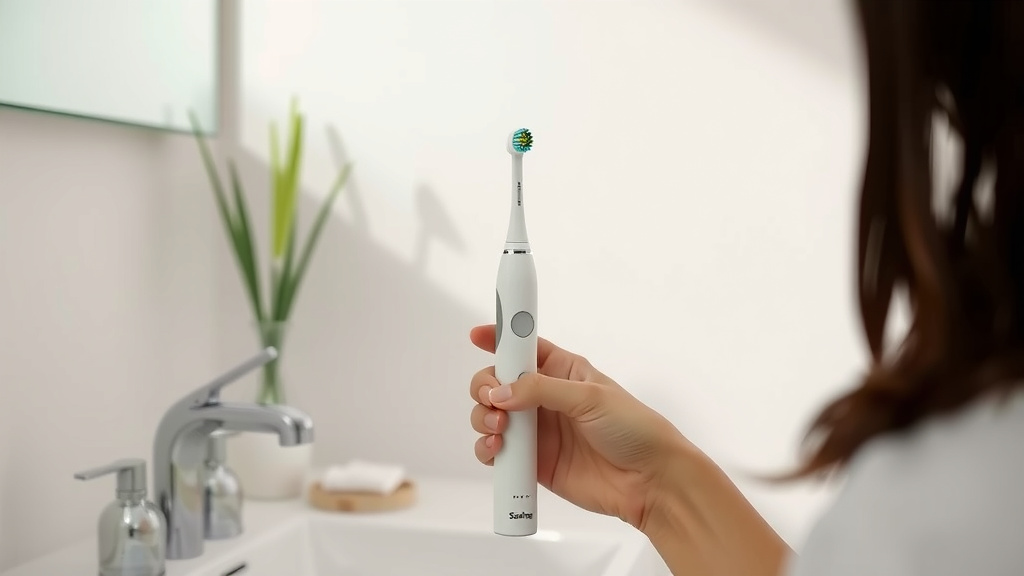
Troubleshooting Common Cleaning Issues
Sometimes, despite your best efforts, you might encounter a cleaning challenge. Here are a few common ones and how to tackle them.
Stubborn Gunk Around the Neck
If you find stubborn gunk or mold-like buildup around the metal shaft where the brush head attaches, don’t panic. This often happens from toothpaste residue and moisture. Try using a cotton swab slightly dampened with rubbing alcohol (use sparingly and rinse well afterward) or a gentle solution of water and a tiny drop of mild dish soap. Make sure to rinse thoroughly with plain water and let it air dry completely. We found that regular detachment and cleaning helps prevent this in the first place.
Odor from the Brush Head
An unpleasant odor usually means bacteria have started to grow. This is a clear sign it’s time for a deep clean or, more likely, a brush head replacement. Always rinse your brush head thoroughly after each use and allow it to air dry. If the odor persists even after cleaning and you haven’t replaced the brush head in 3 months, it’s time for a new one.
Your Sonicare Cleaning Checklist
Want a quick reminder? Keep this handy list in mind:
- Rinse brush head and handle with warm water after each use.
- Detach brush head weekly for a deeper clean.
- Wipe down the handle with a damp cloth.
- Ensure all parts are thoroughly air-dried.
- Replace brush heads every 3 months.
Conclusion
You’ve got this! Keeping your Sonicare clean is simple and makes a big difference for your oral health. A quick rinse after each use and a weekly deeper clean will prevent buildup. Remember to let all the parts air dry completely before storing. Following these easy steps ensures your toothbrush stays hygienic and performs its best. Your next step is to incorporate this routine into your daily habits. Make it a habit today for a healthier smile tomorrow.
Frequently Asked Questions
Can I use mouthwash to clean my Sonicare brush head?
You can use mouthwash for a brief soak, but plain water is usually best. If you do use mouthwash, dilute it significantly with water. Rinse everything thoroughly afterward. We found that harsh chemicals can degrade brush head materials over time.
How often should I replace my Sonicare brush head?
You should replace your Sonicare brush head approximately every three months. Look for frayed bristles or reduced cleaning effectiveness. Some Sonicare models have indicator bristles that fade to signal it’s time for a new head.
Is it okay to leave my Sonicare toothbrush on the charger all the time?
Yes, it’s generally fine to leave your Sonicare on its charging base when not in use. The charging base is designed to prevent overcharging. Just ensure the area around the charger is dry.
What should I do if my Sonicare handle feels sticky?
A sticky handle is usually due to dried toothpaste residue. Wipe it down with a soft, damp cloth. For tougher spots, use a cotton swab dipped in warm water. Make sure to dry it thoroughly afterward to prevent moisture buildup.
Can I wash the entire Sonicare handle in the dishwasher?
No, you should never put the Sonicare handle in the dishwasher or submerge it in water. The handle contains electronics and is not waterproof. Always clean the handle with a damp cloth only.