Stop Mold on Your Electric Toothbrush: Simple Prevention Tips
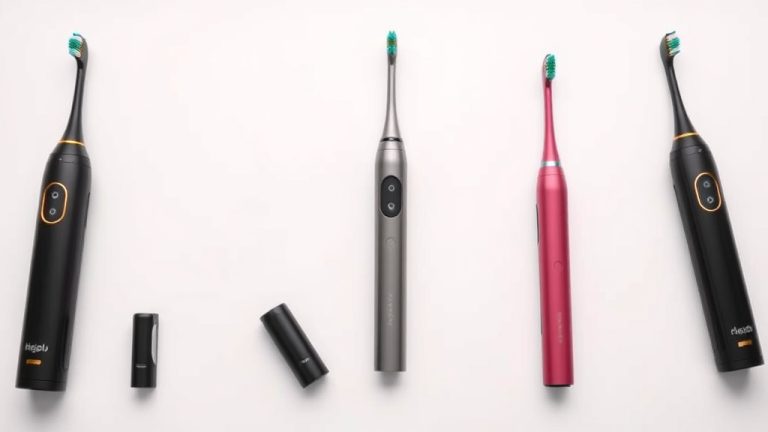
Preventing mold on your electric toothbrush is surprisingly simple. You can stop mold growth by rinsing the brush head thoroughly after each use and storing it upright to allow for proper air drying. This helps keep your oral hygiene tools clean and free from unwanted guests.
Mold thrives in damp, dark environments, which can unfortunately describe many bathroom conditions. Regularly drying your electric toothbrush head is the most effective way to combat this. This simple habit can prevent potential health concerns and keep your toothbrush functioning at its best, ensuring a cleaner smile.
- Rinse your brush head well after every brush.
- Store it upright so air can circulate.
- Consider a UV sanitizer for extra peace of mind.
- Replace brush heads on schedule to avoid worn-out bristles.
Let’s dive into the practical steps you can take to keep mold away from your electric toothbrush and ensure a hygienic experience every time you brush.
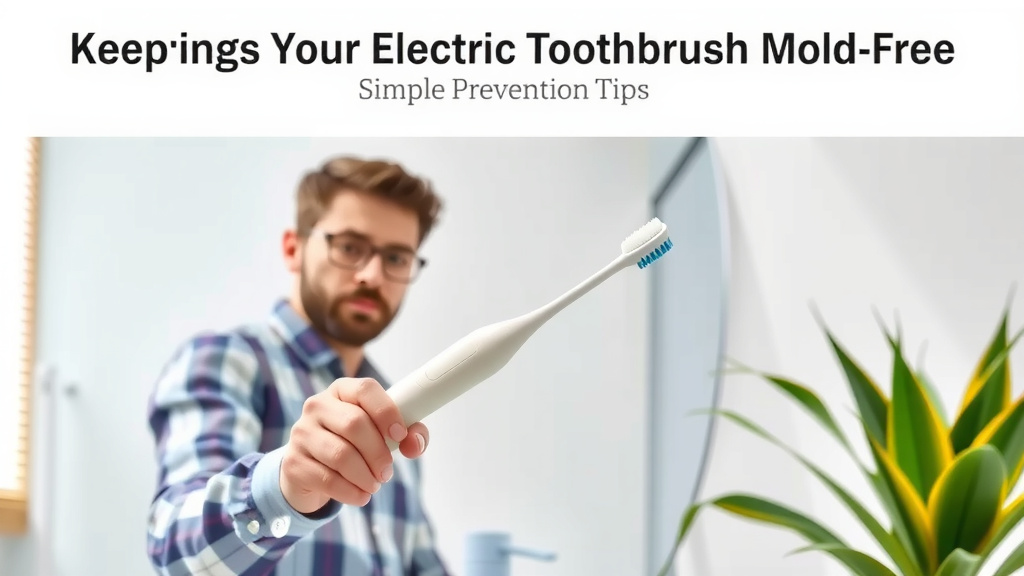
Keeping Your Electric Toothbrush Mold-Free
Mold on your electric toothbrush? Yikes! Nobody wants that near their mouth. But don’t worry, it’s actually quite preventable. A few simple habits can keep your toothbrush head clean and hygienic. We’re here to guide you through the best practices to ensure your oral care routine stays fresh and germ-free.
The Science of Mold and Your Toothbrush
Mold is a type of fungus. It loves to grow in damp, dark places. Bathrooms are often humid and lack good ventilation. This creates the perfect breeding ground for mold. Your electric toothbrush head, being constantly wet after use, can easily become a target if not properly cared for.
Research shows that toothbrush heads can harbor bacteria and fungi. This is especially true if they aren’t dried sufficiently between uses. These microorganisms can multiply quickly. Some can even cause health issues if ingested or spread. Keeping your toothbrush head dry is your first line of defense.
Understanding Moisture and Mold Growth
Think of it like leaving a wet sponge on the counter. What happens after a few days? You might see some fuzzy stuff growing. Your toothbrush head is similar. The bristles hold water. The handle can also trap moisture. This trapped moisture is what mold needs to thrive.
It’s not about being unclean; it’s about biology! Mold spores are everywhere in the air. They just need the right conditions to take hold and grow. We want to make those conditions as unfavorable as possible for mold.
Daily Habits for a Mold-Free Brush Head
Prevention is key, and it starts right after you finish brushing your teeth. Simple steps taken daily make a big difference. You’ll be surprised how easy it is to incorporate these into your routine.
Rinse Thoroughly After Every Use
This is your most important step. After brushing, take your electric toothbrush head and rinse it under running water. Get all the toothpaste residue off the bristles. You want to remove any remnants that could feed mold. Spend about 10-15 seconds rinsing. Don’t just give it a quick splash!
Make sure the water reaches all the bristles. Gently run your fingers through them if needed. This ensures no sugary toothpaste or food particles are left behind. These particles are like a five-star meal for mold. We found that thorough rinsing is consistently recommended by dental professionals.
Shake Off Excess Water
Once rinsed, give your toothbrush head a good shake. Yes, really! A firm shake can remove a significant amount of excess water. Think of it like shaking water off your hands after washing them. This simple action starts the drying process immediately.
This helps prevent water from pooling on the bristles. Less water means less opportunity for mold to start its party. It’s a quick step that pays off.
Store Upright for Optimal Air Circulation
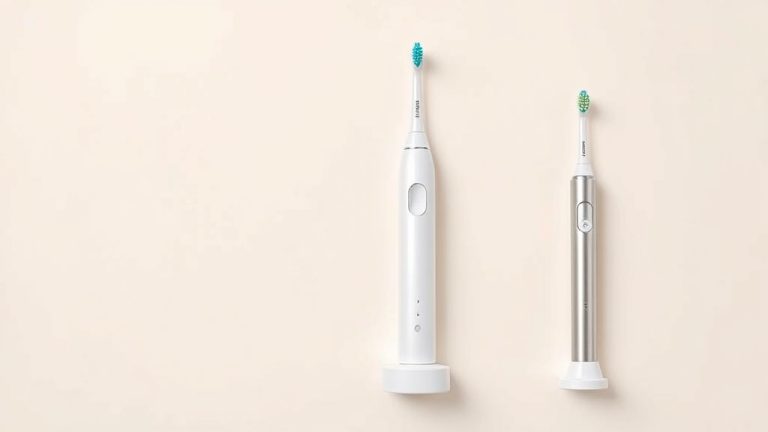
How you store your toothbrush matters a lot. Always store your electric toothbrush head in an upright position. This allows air to circulate freely around it. Avoid storing it in a closed container or drawer immediately after use. This traps moisture.
Placing it in a toothbrush holder that allows air to flow is ideal. Some holders have slots or openings. This ensures your brush head dries out completely between brushing sessions. Imagine trying to dry your hair by putting it in a plastic bag. That’s what a closed container does to your toothbrush!
Choosing the Right Storage Solution
Consider a toothbrush holder designed for electric heads. Many brands offer them. These often have ventilation. They also keep the brush head elevated. This prevents it from sitting in any stagnant water. If you travel, look for travel cases that allow for ventilation. Some have small holes.
If you don’t have a special holder, simply placing it on its base on your counter can work. Just make sure it’s not leaning against anything that blocks air. The goal is to give it space to breathe and dry.
Give It Time to Dry
Patience is a virtue, especially with mold prevention. After rinsing and shaking, let your toothbrush head air dry completely. This might take a few hours. The bathroom environment plays a role here. A well-ventilated bathroom will dry things faster.
If your bathroom is very humid, you might need to take extra steps. Open a window after showering. Use an exhaust fan. This reduces overall humidity. We found that consistent drying is the core principle behind preventing mold growth (Cleveland Clinic).
Extra Measures for Enhanced Protection
While daily habits are powerful, sometimes you want a little extra reassurance. Here are a few ways to boost your mold-prevention efforts.
Consider a UV Sanitizer
UV sanitizers are devices that use ultraviolet light to kill germs and bacteria. Many are designed specifically for toothbrushes. You place your toothbrush head inside, and it runs a sanitizing cycle. This can kill up to 99.9% of germs.
While not strictly for mold *prevention* in terms of drying, a UV sanitizer can kill any mold spores that might have started to grow. It’s an extra layer of protection. Many studies show UV-C light is effective against a broad spectrum of microorganisms. This can offer peace of mind.
Regular Brush Head Replacement
Electric toothbrush heads aren’t meant to last forever. They typically need replacement every 3-4 months. Worn-out bristles can’t clean effectively. They also create more surface area for moisture and bacteria to cling to. Learn more about choosing the best electric toothbrush heads for your needs.
Worn bristles can also make it harder for the brush head to dry properly. Check your toothbrush manual for specific recommendations. Replacing your brush head on schedule is essential for both hygiene and cleaning performance. Think of it like changing the filter on your air purifier. It keeps things working optimally.
Deep Cleaning Occasionally
Once in a while, you might want to do a deeper clean. You can remove the brush head from the electric handle. Soak the brush head in a solution of one part hydrogen peroxide to three parts water for about 15 minutes. Then, rinse it thoroughly with water and let it air dry completely.
You can also use mouthwash for a soak. Some dentists suggest this. Just be sure to rinse very well afterward. This can help dislodge any stubborn residue. Remember to always follow the manufacturer’s instructions for your specific toothbrush model.
Your Mold-Free Toothbrush Checklist
Here’s a quick rundown to keep your electric toothbrush pristine:
- Rinse: Thoroughly rinse the brush head after every single use.
- Shake: Give it a good shake to remove excess water.
- Store Upright: Always store it vertically to allow airflow.
- Ventilate: Ensure the storage area is well-ventilated.
- Dry: Let it air dry completely between brushings.
- Replace: Swap out brush heads every 3-4 months.
Conclusion
Keeping your electric toothbrush free from mold is totally achievable. By consistently rinsing your brush head thoroughly after each use and storing it upright, you allow for proper air circulation and drying. These simple, daily habits are your most powerful tools against unwanted growth. You’ve learned how moisture creates the perfect environment for mold and how easy it is to disrupt that. Make these steps a natural part of your routine for a cleaner, healthier smile. Start implementing these practices today and enjoy the peace of mind that comes with a hygienic oral care routine.
Frequently Asked Questions
How often should I replace my electric toothbrush head?
You should aim to replace your electric toothbrush head every 3 to 4 months. Worn-out bristles don’t clean as effectively and can also hold onto moisture, making them more prone to mold. Always check your toothbrush’s manual for the manufacturer’s specific recommendation.
Can I use a closed container to store my toothbrush head?
It’s best to avoid storing your toothbrush head in a closed container immediately after use. This traps moisture, creating an ideal environment for mold growth. Always opt for open storage that allows for good air circulation to help it dry completely.
Is it safe to use a toothbrush that has visible mold on it?
No, it’s not safe to use a toothbrush with visible mold. Mold can harbor harmful bacteria and spores that can negatively impact your oral health and overall well-being. It’s best to discard a moldy brush head immediately and replace it with a new one.
Does a bathroom’s humidity level affect mold growth on my toothbrush?
Yes, a highly humid bathroom can definitely contribute to mold growth. The increased moisture in the air makes it harder for your toothbrush to dry out completely between uses. Using your bathroom’s exhaust fan or opening a window can help reduce humidity.
What’s the best way to dry my electric toothbrush head quickly?
After rinsing, give your toothbrush head a vigorous shake to remove as much excess water as possible. Storing it upright in a well-ventilated holder is key for continued drying. Allowing it to air dry completely in an open space is the most effective method.