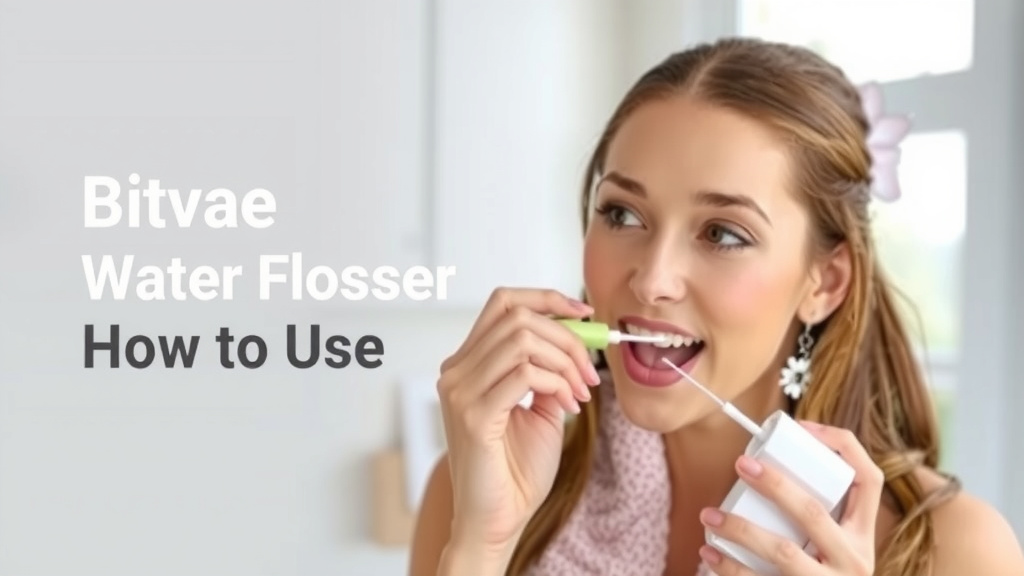
Bitvae Water Flosser How to Use: Step-by-Step Guide
Using a Bitvae water flosser is simple: fill the tank, pick your pressure setting, lean over the sink, and aim the nozzle along your gumline while spraying water between your teeth. That’s really the core of it. If you just unboxed yours and feel a little lost, don’t worry — we’ve all been there.
We researched the manual, user tips, and dentist advice, and we found that a few small habits make a big difference. Things like starting on low pressure, using lukewarm water, and cleaning the tank regularly help you get the best results. Many experts say water flossers work great for braces, implants, and anyone who hates string floss. If you’re still choosing a unit, our roundup of the best water floss devices compares top models side by side.
Quick TL;DR:
- Fill the tank with warm water and pick a nozzle.
- Start on the lowest pressure setting, then work up.
- Lean over the sink so water drips out of your mouth as you go.
- Aim the spray at your gumline and pause between each tooth.
- Rinse the tank and nozzle after every use.
Ready to get that fresh-from-the-dentist feeling at home? Let’s walk through exactly how to use your Bitvae water flosser, step by step.
Getting Your Bitvae Water Flosser Ready for First Use
Before your first flossing session, give your new device a quick setup. We found that a few minutes of prep makes everything smoother later. Think of it like preheating an oven — skip it, and things get messy.
Start by charging the unit fully if you have a cordless model. Most Bitvae models need a few hours for a full charge. While it charges, wash the tank and nozzle with warm, soapy water, then rinse well.
Assembling the Parts
Snap the nozzle into the handle until you hear a soft click. If it wobbles, it isn’t seated right. Fill the tank to the line, then attach it firmly so it doesn’t leak mid-use.
- Rinse the tank and nozzle before the first use.
- Charge cordless models fully before your first session.
- Click the nozzle in until it feels secure.
- Fill with lukewarm water — not hot, not ice cold.
Using Your Water Flosser Step by Step
Here’s the part you came for. Lean over the sink, place the nozzle in your mouth, and close your lips partway. Water needs somewhere to go, and the sink is a much better destination than your shirt.
Turn the unit on at the lowest pressure setting. Aim the stream at your gumline at about a 90-degree angle. Pause briefly between each tooth, letting the water flush out food and plaque.
Following the Right Order
Work in a pattern so you don’t miss spots. Many dental hygienists suggest starting at the back teeth and moving forward, then repeating on the other side. Follow the same path every time until it becomes second nature.
Trace along the gumline, then briefly angle the spray between each tooth. Spend about 30 seconds on your top teeth and 30 seconds on the bottom. Two minutes total is plenty.
Tip for Braces and Dental Work
Got brackets or a bridge? Angle the stream directly at the hardware to dislodge trapped food. Research shows water flossers can be especially helpful for people with braces who struggle with string floss (NIH). Go slow around wires to avoid splatter chaos.
Choosing the Right Pressure Setting
Don’t be a hero on day one. Start on low or soft mode for your first week. Your gums may bleed a little at first if they aren’t used to cleaning — that’s common, and it usually improves within a few days.
Once your gums feel comfortable, step up gradually. The Mayo Clinic notes that gentle, consistent cleaning matters more than aggressive power. If a setting hurts, drop back down. Pain is not a badge of honor here.
| Pressure Level | Best For |
|---|---|
| Low | Beginners, sensitive gums, first week |
| Medium | Everyday cleaning once gums adjust |
| High | Deep cleaning around braces or bridges |
What to Put in the Tank
Lukewarm water is your best friend. Warm water feels gentler on sensitive teeth, while cold water can trigger zings in tender spots. It’s the difference between a gentle shower and an ice bucket challenge.
You can add a small amount of mouthwash for a fresher feel, but keep it mild. Avoid strong salts or powders unless the manual approves them, since additives can clog the pump. Plain water is always the safe default.
Cleaning and Maintaining Your Device
A clean flosser lasts longer and stays hygienic. Empty the tank after every session — standing water invites mineral buildup and mildew. Nobody wants a mystery smell greeting them each morning.
Your Quick Weekly Checklist
- Empty and air-dry the tank after every use.
- Rinse the nozzle under warm water daily.
- Wipe the handle and base with a damp cloth weekly.
- Deep-clean the tank with vinegar and water monthly.
- Replace nozzles every three to six months.
- Store the unit dry with the lid off to prevent mold.
We found that many user complaints about water flossers trace back to skipped cleaning, not the device itself. Ten seconds of rinsing saves you a lot of frustration later.
Common Mistakes to Avoid
Even experienced users slip up now and then. Here are the ones we see most often — and how to dodge them.
- Starting too high on pressure. Ease in gently so your gums can adjust.
- Rushing the process. Pausing between teeth is where the cleaning happens.
- Leaning over the sink too little. Water runs; embrace the drip.
- Skipping the gumline. That’s where the gunk hides.
- Forgetting to charge. A dead battery mid-floss is a special kind of annoying.
When to Use Your Water Flosser in Your Routine
Timing is flexible. Some people floss before brushing to loosen debris; others prefer after. The CDC notes that any consistent daily cleaning routine is better than none, so pick the order you’ll actually stick with.
Once a day is the sweet spot for most people. Pair it with something you already do — like right after brushing at night — so it becomes a habit instead of a chore. Before long, you’ll wonder how you ever managed without it.
Conclusion
You now have everything you need to use your Bitvae water flosser with confidence. Fill the tank with lukewarm water, start on a low pressure setting, and trace your gumline for about a minute each day. Keep the unit clean, and it’ll serve you well for years.
We found that the biggest difference-maker is simply consistency. One minute of water flossing daily beats a perfect technique used once a week. Your gums might complain a little at first, but they’ll thank you soon enough.
Your next step: charge it up tonight, and try your first low-pressure session tomorrow morning. Small habit, big payoff.
Frequently Asked Questions
Can I use my Bitvae water flosser in the shower?
If you have a waterproof model, yes — many people prefer it because splashing doesn’t matter. Check your manual first to confirm the unit’s water-resistance rating. Cordless models are usually safe, but countertop units with charging cords should stay away from water.
Why is my Bitvae water flosser losing pressure?
Weak pressure usually means a clogged nozzle or a low battery. Soak the nozzle in warm water or vinegar to clear mineral buildup, then test again. If that doesn’t help, make sure the tank is seated properly and the unit is fully charged.
Should I floss before or after brushing with a water flosser?
Either works — the best order is the one you’ll actually stick with. Some dentists suggest flossing first to loosen debris so brushing can sweep it away. Try both for a week each and see which feels more natural to you.
Can my Bitvae water flosser replace string floss completely?
For most people, yes — research shows water flossers reduce plaque and gum bleeding about as well as string floss. If you have tight tooth spacing or specific dental work, your dentist may recommend keeping both in rotation. Ask at your next cleaning.
How long does the battery last on a Bitvae water flosser?
Most Bitvae cordless models run for several weeks on a single charge with once-daily use. If yours dies faster than expected, check that the unit is fully charged before sessions. Frequent high-pressure use can drain the battery a bit quicker.