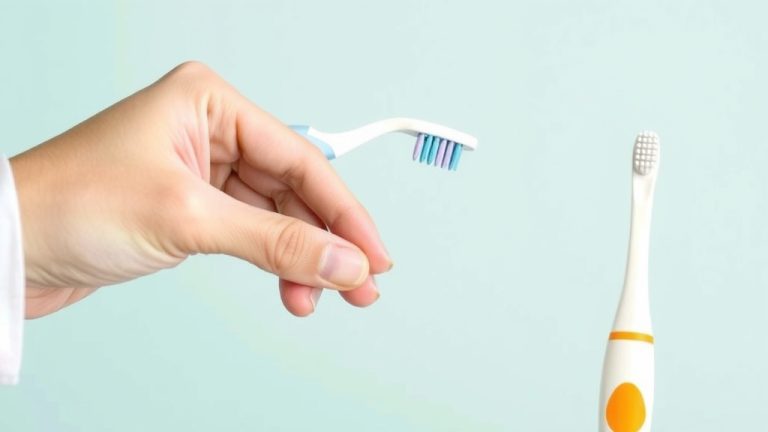
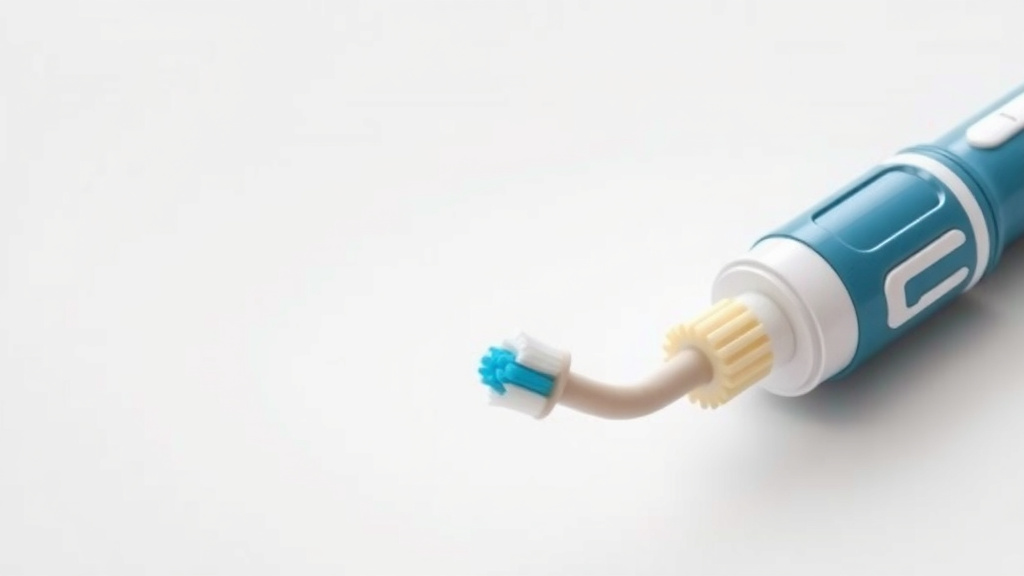
How to Take Apart Your Electric Toothbrush Safely
Taking apart an electric toothbrush is relatively simple once you know the basic steps. You’ll typically need to remove the brush head and then gently pry open the handle. We found that most models have a hidden screw or a cleverly designed seam that allows access to the internal components. It’s a good way to access the battery for replacement or to clean hidden grime.
Beyond just a quick clean, understanding how your electric toothbrush comes apart can help you with troubleshooting common issues. Perhaps your brush isn’t charging, or it’s making a strange noise. Knowing the disassembly process can help you identify the cause without needing to replace the entire unit. It’s a practical skill for any owner of these handy devices.
- Understand the goal: Are you replacing a battery, cleaning, or just curious?
- Gather tools: A small screwdriver, maybe a plastic prying tool.
- Find the seams: Look for screws or separation points on the handle.
- Be gentle: Plastic parts can snap if forced.
Let’s walk through exactly how to get your electric toothbrush apart, step by step. We’ll cover the common methods and point out what to look for.
Disassembling Your Electric Toothbrush: A Step-by-Step Guide
So, your electric toothbrush isn’t quite cutting it anymore. Maybe the battery is on its last leg, or you just want to give it a deep clean. Taking it apart might seem daunting, but we found it’s often simpler than you think. You don’t need a toolkit worthy of a NASA engineer. Usually, a few common household items will do the trick. Let’s get your toothbrush open so you can tackle whatever you need to.
Preparing for the Procedure: What You’ll Need
Before you dive in, let’s gather your supplies. This makes the whole process much smoother. You’ll want to work in a well-lit area. Having a clean, flat surface is also a big help. This prevents tiny parts from rolling away into oblivion. Think of it like prepping ingredients before you start cooking – it saves frustration later!
Essential Tools for the Job
Most electric toothbrushes are designed with user-friendly disassembly in mind. This means you won’t need industrial-strength tools. We found that a small Phillips head screwdriver is often the most critical item. Some models might require a tiny flathead screwdriver, too. You might also find a plastic prying tool useful. These are sometimes called spudgers. They are great for gently separating plastic parts without scratching them. A clean cloth for wiping away debris is also wise.
Optional but Helpful Items
While not strictly necessary for every model, a few extra items can make your life easier. A small container or tray is perfect for holding screws and small parts. This keeps them organized and prevents them from getting lost. Tweezers can be handy for picking up very small components. If you’re dealing with stubborn grime, a bit of isopropyl alcohol and cotton swabs can be useful for cleaning. Just be sure to let everything dry completely before reassembly.
Step 1: Removing the Brush Head
This is usually the easiest part. The brush head is designed to be removed regularly for cleaning and replacement. You shouldn’t need any tools for this step. Most brush heads simply pull straight off the handle. Some might have a slight twist-and-pull mechanism.
Gentle Removal Techniques
Grip the brush head firmly with one hand. Hold the main body of the toothbrush with your other hand. Give the brush head a steady pull upwards. If it feels stuck, don’t force it. Try wiggling it gently from side to side while pulling. We found that a little bit of gentle pressure is usually all it takes. Once it’s off, set it aside.
Step 2: Locating the Access Point
This is where things can vary a bit between brands and models. Electric toothbrushes hide their screws or seams in a few common places. Your goal here is to find where the handle can be separated.
Searching for Hidden Screws
Many toothbrushes have a small screw, often located at the very bottom of the handle. It might be hidden beneath a rubber or plastic cap. You might need to use your flathead screwdriver or a thin blade to gently pry off this cap. Once removed, you’ll see the screw. Turn it counter-clockwise to remove it. Some models might have screws hidden under the brush head’s connection point, though this is less common. We found that checking the bottom first is your best bet.
Identifying Seams and Clips
If you don’t see any screws, your toothbrush likely uses plastic clips to hold the casing together. Look for a seam running around the body of the handle. Often, this seam is located just above where the brush head attaches, or it might be further down the handle. You’re looking for a point where the plastic casing seems to meet. These seams are where you’ll likely need to gently insert your prying tool.
Step 3: Opening the Handle Casing
Once you’ve found your access point, it’s time to gently open the toothbrush. This step requires a delicate touch. Rushing can lead to broken plastic, and nobody wants that!
Using Prying Tools Effectively
If you found a screw, remove it first. Then, you can try to gently pull the handle apart. If you’re working with seams and clips, insert your plastic prying tool into the seam. Work your way around the toothbrush, gently coaxing the clips to release. You might hear small clicking sounds as they separate. Go slowly and don’t apply excessive force. We found that working from the bottom of the handle upwards often yields good results. If one side isn’t budging, try a different spot along the seam.
What to Expect Inside
As the handle separates, you’ll typically see the internal components. This usually includes the battery, a small motor, and the circuit board. Wires will connect these parts. Take a moment to observe how everything is arranged. This is helpful if you plan to put it back together. You might also find accumulated gunk or dust in here. This is your chance for a deep clean!
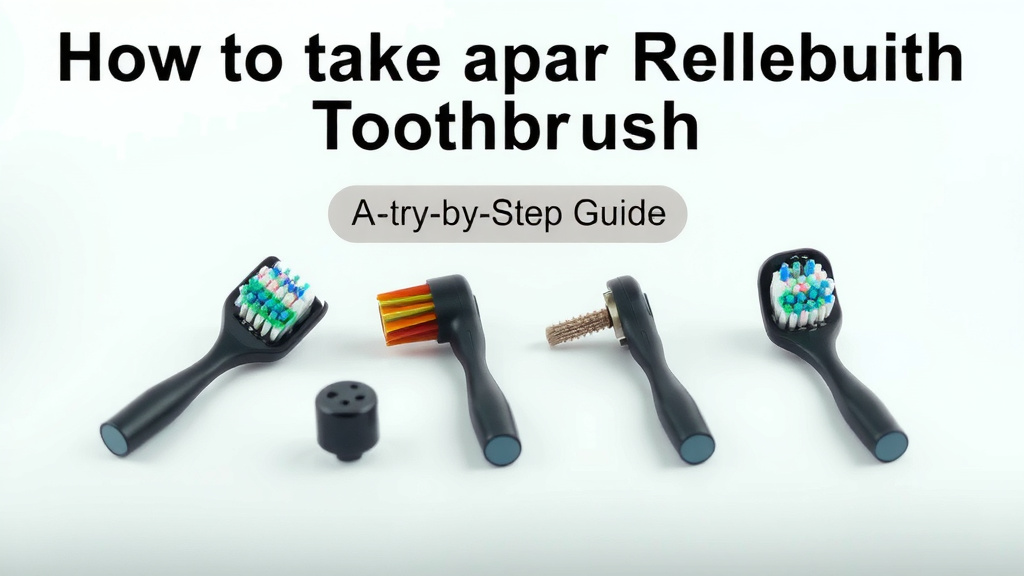
Step 4: Accessing Specific Components (Battery Replacement Focus)
The primary reason many people take apart their electric toothbrush is to replace the battery. Batteries degrade over time, and a dead battery means a useless toothbrush.
Identifying the Battery
The battery is usually a cylindrical shape, similar to a AA or AAA battery, but often smaller. It might be labeled with its voltage and capacity. It’s typically connected to the circuit board by small wires with connectors. You may need to gently disconnect these connectors.
Safely Removing and Replacing the Battery
If the battery is just sitting in place, carefully lift it out. If it’s secured with tape or adhesive, use your plastic prying tool or tweezers to gently loosen it. Make note of which way the battery is oriented before removing it. When installing a new battery, ensure it matches the original specifications. Connect the wires to the new battery, observing the correct polarity (+ and -). Many experts suggest using rechargeable lithium-ion batteries for longevity (Cleveland Clinic). For more information on battery care, consult our guide on charging time.
Step 5: Cleaning Internal Components
While you have your toothbrush apart, it’s a great opportunity to clean out any built-up grime. This can help your toothbrush function better and look cleaner.
Wiping Down the Interior
Use a dry cloth to wipe away loose dust and debris. For tougher spots, lightly dampen a cotton swab with isopropyl alcohol. Gently scrub away any residue. Avoid getting moisture on the electronic components like the circuit board or motor. Allow everything to air dry completely before proceeding.
Checking for Damage
Inspect the wires for any signs of fraying or damage. Look at the motor to ensure it spins freely. If you notice anything concerning, it might be beyond a simple repair. Many consumer electronics repair guides suggest checking for loose connections as a common issue.
Checklist: Quick Steps to Remember
- Remove the brush head first.
- Look for a screw at the bottom.
- If no screw, find the handle seam.
- Use a plastic tool to gently pry.
- Note battery orientation before removal.
- Clean components with a dry cloth.
Conclusion
You’ve now learned how to successfully take apart your electric toothbrush. We’ve walked through finding hidden screws or seams and gently opening the handle. Remember, patience and gentle pressure are key to avoid damaging the plastic parts. Whether you’re replacing a worn-out battery or giving your toothbrush a deep internal clean, you’ve gained a practical skill. Now, put your newfound knowledge to good use and tackle that maintenance task!
Frequently Asked Questions
Can I take apart any electric toothbrush?
Generally, yes. Most electric toothbrushes are designed to be serviceable. While specific methods might vary slightly between brands, the core principles of removing the brush head and locating a seam or screw remain consistent. We found that looking for a bottom screw or a seam near the head is usually the best starting point.
What if I can’t find a screw?
If you don’t see any screws, your toothbrush likely uses internal clips to hold the casing together. Carefully inspect the handle for a seam where the plastic pieces meet. You’ll typically need a plastic prying tool to gently work your way around this seam, releasing the clips one by one. Go slow to prevent breaking them.
Is it safe to replace the battery myself?
Yes, it can be safe if you follow the correct steps. Ensure you disconnect the old battery properly and connect the new one with the correct polarity. We recommend using a battery of the same voltage and capacity as the original. Always allow components to dry completely if any moisture was involved.
How do I avoid breaking the plastic parts?
The most important tip is to use gentle, steady pressure. Avoid yanking or forcing components. If something feels stuck, re-examine it for hidden clips or screws you might have missed. Using a plastic prying tool instead of metal can also significantly reduce the risk of scratching or chipping the plastic.
What should I do if my toothbrush still doesn’t work after reassembly?
If your toothbrush doesn’t function after reassembly, double-check all connections, especially the battery terminals and wires to the motor and circuit board. Ensure the battery is correctly oriented and fully charged. If problems persist, there might be a more significant internal issue that requires professional attention or replacement.