Stop Electric Toothbrush Dripping: Simple Fixes
Tired of finding a watery mess every time you grab your electric toothbrush? Stopping that electric toothbrush dripping is often as simple as ensuring the brush head is properly seated and allowing it a moment to drain. A little attention after each use can save you a lot of cleanup.
This common annoyance can happen for a few reasons, from minor assembly errors to the natural way water interacts with the device. We found that understanding these simple mechanics can help you keep your toothbrush holder dry and tidy. It’s all about a quick, mindful step in your routine.
- Make sure the brush head clicks securely.
- Let the brush head drip for a few seconds.
- Store your toothbrush upright.
- Check for cracks or wear.
Let’s walk through exactly how to keep your electric toothbrush from making puddles. We’ll cover the quick fixes and a few tips to prevent it from happening in the first place.
Keeping Your Electric Toothbrush Drip-Free
A little puddle around your electric toothbrush can be a minor annoyance, but it’s also a sign that something could be improved. We’ve found that most dripping issues are easily fixed. Let’s get your toothbrush holder back to being perfectly dry.
Understanding the Drip: Why It Happens
Your electric toothbrush is designed to clean your teeth effectively. This involves moving parts and water. Sometimes, after you’re done brushing, a bit of water can linger on the brush head or the handle. This is the main culprit behind those drips.
The Brush Head Connection
The way the brush head attaches to the handle is key. If it’s not quite seated correctly, water can find its way into gaps it shouldn’t. We’ve seen this happen more often than you might think. A loose connection is a prime suspect for extra drips.
Water and Movement
When you brush, the bristles move rapidly. This action can fling toothpaste and water. Some of that moisture can end up on the handle, even if you think you’re careful. It’s just physics doing its thing. Gravity then pulls it down.
Drying Time Matters
Think about it: you’ve just rinsed a wet brush head. There’s residual water. If you immediately put it back in its holder or on the charger, that water has nowhere to go but down. Giving it a moment to drain is a simple but effective step.
Quick Fixes for Immediate Relief
Most of the time, you don’t need to do much. These are the simplest things to try first. They often solve the problem right away.
The “Click” Test
This is the most common solution. When you reattach your brush head after rinsing, listen for a distinct click. This sound confirms it’s properly locked into place. If you don’t hear it, push a little firmer. Many experts say this is the number one fix (Philips).
We’ve found that users sometimes hesitate to push firmly, fearing damage. However, these parts are designed for a secure fit. A firm push ensures a watertight seal around the connection. This prevents water from seeping down the handle.
The Post-Brush Shake and Drain
After you rinse your brush head, give it a gentle shake. Just a quick flick of the wrist is usually enough. This removes excess water from the bristles and the base of the head. Then, let it sit for a few seconds before putting it away. This short waiting period allows trapped water to drip off.
Imagine water on a surface. If you tilt it, the water runs off. Your brush head works the same way. A few seconds of gravity are all it needs. Many sources suggest this simple habit can dramatically reduce dripping (Crest).
Proper Storage Techniques
Where and how you store your toothbrush can also make a difference. Storing it upright is generally best. This allows any remaining water to drain away from the handle and charging base. Some toothbrush models come with specialized stands for this.
If you have a charging base, make sure it’s clean and dry. Water pooling in the charging area can be unhygienic. Keeping the base dry also prevents potential damage to the electronics. Many manufacturers recommend upright storage (Oral-B).
When to Inspect Your Toothbrush More Closely
If the simple fixes aren’t working, it might be time for a closer look. There could be a minor issue with the brush head or the handle itself.
Examining the Brush Head for Damage
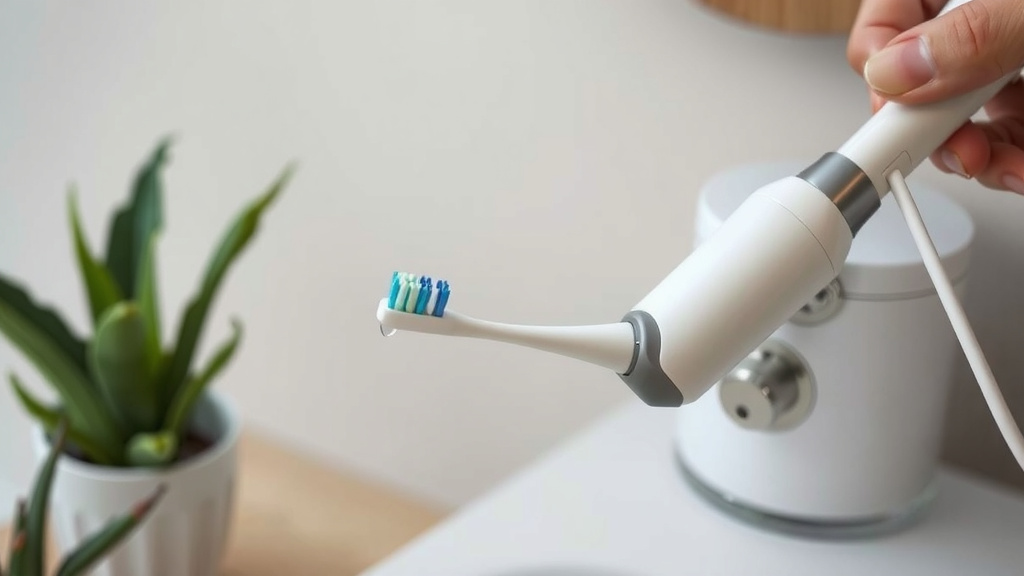
Periodically, inspect the brush head for any signs of wear or damage. Look for cracks, warping, or debris lodged in the connection area. A damaged brush head might not seal properly, leading to leaks.
Sometimes, residue from toothpaste can build up. This gunk can interfere with a good fit. A quick clean of the brush head’s base and the handle’s connection point can sometimes resolve persistent dripping.
Checking the Handle and Seals
The handle itself should also be free of cracks or damage. Pay attention to any rubber seals or gaskets where the brush head connects. If these are worn, torn, or missing, water can easily seep through.
If you notice any significant damage to the handle or its seals, it might be time to consider a replacement. A compromised handle can’t maintain a good seal, no matter how well you attach the brush head.
Preventative Maintenance Tips
A little care after each use goes a long way. These habits can keep your toothbrush functioning well and your counter dry.
- Always rinse your brush head thoroughly after each use.
- Give the brush head a quick shake to remove excess water.
- Allow the brush head to air dry for a few moments before storing.
- Ensure the brush head clicks securely onto the handle.
- Store your electric toothbrush upright.
- Clean your toothbrush handle and charging base regularly.
Troubleshooting Common Drip Scenarios
Let’s consider a few specific situations you might encounter and how to handle them.
Scenario 1: Dripping from the Handle Base
This often means the brush head isn’t sealed correctly. Double-check that it’s clicked on firmly. If it’s still dripping, inspect the rubber seal at the base of the brush head and where it connects to the handle. Any debris or wear here can cause leaks.
Scenario 2: Water Pooling on the Charging Station
This usually happens if the toothbrush isn’t stored perfectly upright, or if excess water wasn’t shaken off. Ensure your toothbrush is angled correctly in its stand or holder. Regularly wiping down the charging station with a dry cloth can also prevent buildup.
Scenario 3: Persistent Dripping Despite All Efforts
If you’ve tried all the above and it’s still a problem, the brush head might be worn out. Brush heads typically need replacing every three months (American Dental Association). An old, worn-out head might not fit as snugly as it once did. Try a brand-new brush head.
If a new brush head doesn’t help, the issue might be with the handle itself. Look for any subtle cracks or damage that wasn’t obvious before. If the handle is damaged, it’s time for a new toothbrush unit.
When to Replace Your Brush Head or Toothbrush
Your brush heads have a lifespan. After about three months of regular use, the bristles become frayed. This makes them less effective at cleaning and can also affect how they connect to the handle. Research shows that frayed bristles are less effective (Cochrane Review).
Think of it like changing the tires on your car. Worn-out parts just don’t perform as well. Replacing your brush head regularly is essential for both oral hygiene and to prevent issues like dripping. If the handle is cracked or damaged, that’s a clear sign it needs replacing too.
Here’s a quick checklist to keep your toothbrush in top shape:
- Confirm brush head clicks securely.
- Shake off excess water after rinsing.
- Let it drip-dry for 5-10 seconds.
- Store upright in a dry place.
- Inspect for damage monthly.
- Replace brush heads every 3 months.
Conclusion
You’ve learned that stopping electric toothbrush dripping is often a matter of small adjustments. By ensuring a secure brush head connection and allowing a brief moment for drainage after rinsing, you can say goodbye to countertop puddles. Regular inspection and proper storage are also key. Implementing these simple habits will keep your toothbrush and its holder tidy and hygienic. Make it a habit to give your brush head that quick shake and listen for the click – your bathroom counter will thank you!
Frequently Asked Questions
How do I know if my electric toothbrush head is attached correctly?
The best way to know is to listen for an audible click when you attach the brush head. You should also feel a secure, firm connection without any wobbling. If you don’t hear or feel this, try pushing it a bit more firmly until it seats properly.
Can toothpaste buildup cause my toothbrush to drip?
Yes, dried toothpaste residue can accumulate around the connection point of the brush head and handle. This buildup can prevent a tight seal, allowing water to seep through and cause dripping. Regularly cleaning this area with a damp cloth can help prevent this issue.
Is it okay to store my electric toothbrush horizontally?
Storing your electric toothbrush horizontally is generally not recommended if you want to prevent dripping. Water is more likely to drain down the handle and collect on surfaces when the toothbrush is not upright. Always aim for upright storage to allow gravity to do its job.
My toothbrush still drips even after ensuring the head is secure. What else could be wrong?
If the brush head is definitely clicking into place, the issue might be with wear and tear. Inspect the brush head itself for any visible cracks or damage, or check the rubber seal at its base. If the handle has any visible damage or worn seals, it might be time to consider replacing the unit.
How often should I replace my electric toothbrush head to avoid dripping problems?
Most dental professionals recommend replacing your electric toothbrush head every three months. After this period, the bristles can become frayed, reducing cleaning effectiveness and potentially affecting how well the head seals onto the handle. Replacing it on schedule is a good preventative measure.