How to Use Your Burst Water Flosser: Step-by-Step Instructions
Using a burst water flosser is simple: fill the reservoir, aim the nozzle at your gumline, and pulse water between your teeth for about one minute per arch. That’s really the core of it. Once you get the hang of it, most people find it easier than string floss.
But there’s a little more to it if you want the best results. Things like water temperature, pressure settings, and when to use it in your routine all make a difference. We researched what dentists and manufacturers recommend, and we found a few tips that save you from messy mistakes (yes, we’re talking about spraying water all over your bathroom mirror).
Quick TL;DR:
- Fill the reservoir with lukewarm water before you start.
- Lean over the sink and start with your back teeth.
- Use the lowest pressure setting when you’re new to it.
- Move along the gumline, pausing briefly between each tooth.
- Clean the unit regularly to prevent mold and mineral buildup.
Below, we walk you through everything step by step, from your very first use to everyday maintenance. Let’s get your flosser working like a pro tool instead of a backyard sprinkler.
Getting Your Burst Water Flosser Ready for First Use
Before your first pulse of water, your flosser needs a quick setup. Most models ship with a charged battery (or need one AA battery), a nozzle, and a dry reservoir. We found that taking five minutes to prep correctly saves you from a soggy surprise later.
Think of it like breaking in a new pair of sneakers. A little prep now means comfort later.
Step 1: Charge or Load the Batteries
If your Burst model is rechargeable, plug it in for a full charge before the first use. Battery-powered versions usually need one AA battery, inserted with the positive end facing the cap. Many experts say a weak battery is the number one reason a flosser feels underpowered.
Step 2: Attach and Prime the Nozzle
Push the nozzle into the handle until you hear a click. Then run a full reservoir of plain water through it once, into the sink, before putting it in your mouth. This flushes out any factory dust or residue from packaging.
Step 3: Fill the Reservoir the Right Way
Use lukewarm water, not hot. Hot water can warp plastic parts over time. Cold water works, but lukewarm feels better on sensitive gums. Many dental offices recommend body-temperature water for anyone with sensitivity (Cleveland Clinic).
Using Your Water Flosser Step by Step
Here’s the actual technique. Once you learn the rhythm, it takes about a minute and feels as natural as brushing.
Find Your Stance and Angle
Lean over the sink and close your lips partway around the nozzle tip. Keep your head tilted slightly forward so water drains out instead of down your chin. Gravity is your friend here, not your enemy.
Start at the Back, Work Forward
- Begin with your back molars, where food hiding spots are worst.
- Aim the tip at a 90-degree angle toward the gumline.
- Pulse water briefly between each tooth, about two seconds per gap.
- Trace the gumline like you’re drawing a dotted line.
- Repeat on the inside surfaces, then the front.
- Spit, rinse, and admire the sink full of evidence.
Choose the Right Pressure Setting
Start on the lowest setting for your first week. Your gums may bleed a little at first if they’re not used to cleaning between teeth. The American Dental Association notes that mild bleeding usually improves within a week or two of consistent flossing. If bleeding continues past that, call your dentist.
Picking the Best Time to Use It
When should you floss with water? Honestly, the best time is whenever you’ll actually do it. Consistency beats timing.
That said, many experts say flossing before brushing works well. It clears debris so your toothbrush and fluoride can reach more surfaces (NIH). Others prefer after brushing to rinse everything away. Pick one and stick with it.
Tips That Make the Experience Less Messy
Everyone’s first attempt looks like a water balloon fight lost badly. These tricks keep things tidy.
- Keep your lips mostly closed around the tip while pulsing.
- Pause the stream before you move the nozzle between teeth.
- Start pressure at level one, then work up gradually. Adjustable pressure matters most on countertop units, so our guide to the best electric water flossers compares pressure ranges.
- Use a small mirror so you can see your back teeth.
- Lean far enough forward that water flows straight into the basin.
We found that people who struggle most usually have the nozzle at the wrong angle. If it’s pointing straight at your gums instead of between teeth, you’ll feel a stinging jab instead of a gentle rinse.
Water Temperature, Additives, and What Goes in the Tank
Plain lukewarm water is all most people need. But some like to mix things up.
| What You Add | Is It Safe? | Quick Note |
|---|---|---|
| Lukewarm tap water | Yes | The everyday default. Gentle and cheap. |
| Warm salt water | Yes | Soothes tender gums. Rinse tank after. |
| Mouthwash | Sometimes | Dilute it heavily. Check your manual first. |
| Hot water | No | Can warp the reservoir and seals. |
Never run anything sticky or oily through the unit. It clogs the pump faster than you’d think.
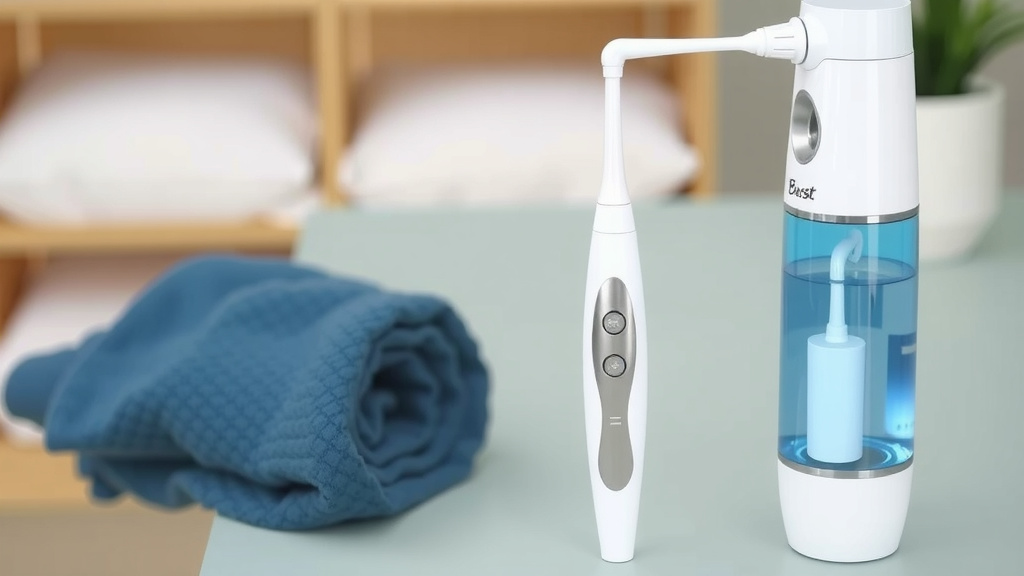
Cleaning and Maintenance to Keep Mold Away
Standing water plus a warm bathroom equals a science experiment you don’t want. Regular cleaning keeps your flosser safe and working well.
Your Weekly Quick-Clean Routine
- Empty the reservoir completely after every use.
- Let the tank air-dry with the lid open.
- Remove the nozzle and rinse it under hot water.
- Wipe the handle with a damp cloth.
- Run a cycle of warm water through the unit weekly.
Deep Cleaning and Descaling
Once every one to two weeks, run a mix of warm water and a splash of white vinegar through the unit. Then flush it with plain water twice. This clears mineral buildup if you have hard water, which many US homes do. Manufacturers generally warn against dishwashing the reservoir, since heat can warp it.
Common Problems and Fast Fixes
Something not working right? Nine times out of ten, it’s one of these.
Weak or No Water Pressure
Check the battery first. Then check that the nozzle clicked in fully and the reservoir sits flush. A clogged nozzle tip is another common culprit; soak it in warm vinegar water for ten minutes.
Leaking Around the Handle
Make sure the reservoir is seated correctly and the seal is dry before attaching. Overfilling past the max line also causes drips. Fill to the line, not beyond it.
Gums That Won’t Stop Bleeding
Drop to the lowest pressure and slow down. If bleeding lasts more than two weeks, that’s a dentist conversation, not a flosser adjustment (Mayo Clinic).
How Water Flossing Fits With Brushing
Here’s the part people get wrong: a water flosser doesn’t replace your toothbrush. It handles the between-teeth spaces that bristles can’t reach, and research shows water flossers can reduce gum bleeding and inflammation when added to brushing (NCBI). Brush twice a day, floss with water once, and you’ve got a complete routine.
Think of it this way. Brushing mops the floors. Water flossing gets the crumbs out from between the couch cushions. You need both for a truly clean house.
Your Quick Daily Checklist
Tape this to your mirror if it helps:
- Fill the tank with lukewarm water to the line.
- Set pressure to your comfort level.
- Lean over the sink, lips half closed.
- Pulse along the gumline, back to front, inside and out.
- Empty and air-dry the reservoir.
- Swap the nozzle every three to six months.
Follow that list and your flosser will outlast most New Year’s resolutions. Small habits, big payoff.
Conclusion
That’s everything you need to make your Burst water flosser a daily habit instead of a drawer dweller. Fill the tank with lukewarm water, start on the lowest pressure, and trace your gumline for about a minute a day. Keep the reservoir empty and dry between uses, and give it a vinegar rinse every week or two to stop mold and mineral buildup before they start.
We found that the people who succeed with water flossing aren’t the ones with perfect technique on day one. They’re the ones who show up tomorrow anyway. So tonight, charge it up, fill the tank, and clean just your back teeth. One minute. That’s your whole job.
Frequently Asked Questions
Can I share my Burst water flosser nozzle with family members?
We don’t recommend it. Nozzles make direct contact with your mouth, so sharing passes bacteria between users. Each family member should have their own color-coded tip. They’re inexpensive and swap out in seconds.
Why does my flosser make a loud vibrating noise?
A rattling sound usually means the reservoir is running low or nearly empty. Air gets pulled into the pump, which causes that chattering noise. Refill the tank, and the sound should smooth out right away.
Can I use my water flosser in the shower?
Only if your model is rated for it. Check the manual or packaging for a waterproof rating before trying. Most cordless flossers are splash-resistant, not fully waterproof, so sink use is the safer default.
How often should I replace the nozzle?
Most manufacturers suggest swapping nozzles every three to six months. Replace it sooner if the tip looks cracked, discolored, or stiff to remove. A worn tip doesn’t aim the stream properly, which weakens your cleaning.
Is a water flosser safe to use with braces or a retainer?
Yes, and it’s actually one of the biggest reasons people buy one. The stream threads around brackets and wires where string floss struggles. Orthodontic-specific tips, if available for your model, make it even easier. If you have braces, our roundup of the best cordless water flossers for braces highlights models with orthodontic-friendly tips.