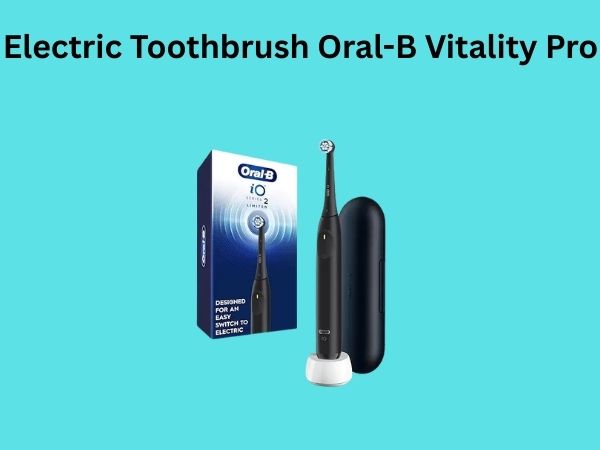
How Do You Know If Your Electric Toothbrush Is Charging? A Complete Guide
Have you ever picked up your electric toothbrush and wondered whether it’s actually charging or just sitting there doing nothing? You’re not alone. Many people struggle with understanding the charging indicators on their electric toothbrushes, which can lead to confusion and frustration. In this comprehensive guide, I’m going to walk you through everything you need to know about identifying when your electric toothbrush is charging, what the different signs mean, and how to troubleshoot common charging issues.
Understanding Electric Toothbrush Charging Basics
Before we dive into the specifics of knowing whether your electric toothbrush is charging, let’s establish a foundation of basic knowledge. Electric toothbrushes are sophisticated devices that rely on rechargeable batteries to function. These batteries need to be replenished regularly, just like your smartphone or laptop. The challenge is that manufacturers design these devices differently, so the way one brand tells you it’s charging might be completely different from another.
Think of your electric toothbrush like a car at a gas station. You need to know when the pump is running, and more importantly, when the tank is full. Similarly, your toothbrush needs clear signals to tell you that charging is in progress and when it’s complete. Understanding these signals is essential for maintaining your device and ensuring it’s always ready when you need it.
Why Charging Indicators Matter
You might be wondering why charging indicators are so important. Well, if you can’t tell whether your toothbrush is charging, you might leave it plugged in for too long, which can damage the battery. Conversely, you might not charge it long enough, leaving you with a device that dies halfway through brushing your teeth. Clear charging indicators prevent these problems and help you get the most out of your toothbrush’s lifespan.
Common Charging Indicators Explained
Electric toothbrush manufacturers use several methods to communicate charging status to users. Let me break down the most common ones you’ll encounter.
LED Light Indicators
The most prevalent way manufacturers indicate charging status is through LED lights. These small colored lights are typically located on the handle of your toothbrush or on the charging dock itself. Different colors and patterns convey different messages about your device’s charging status.
What Different LED Colors Mean
- Green Light: Usually indicates that your toothbrush is fully charged and ready to use
- Red Light: Typically signals that the battery is low and the device needs charging
- Blue Light: Often means the toothbrush is currently charging
- Amber or Orange Light: Usually indicates the battery is partially charged or charging is in progress
- Flashing Light: Can mean various things depending on the manufacturer—sometimes it indicates charging, other times it warns of a problem
The important thing to remember is that there’s no universal standard for LED colors. Your specific toothbrush model might use different colors to convey the same information. This is why checking your user manual is crucial when you first get your toothbrush. Don’t assume that because a green light means “fully charged” on one brand, it means the same thing on another.
LED Lights and What They Mean
Let’s dive deeper into LED light behavior, because the pattern of blinking can be just as important as the color itself.
Steady vs. Blinking Lights
A steady, continuous LED light usually means one of two things: either the device is fully charged, or it’s actively charging. A blinking or flashing light, on the other hand, often indicates that charging is in progress. Some premium models use rapid blinking to show that charging has just started, then slow down the blink rate as the battery fills up.
Imagine the LED light as a heartbeat monitor. A steady light is like a normal, healthy heartbeat—everything is fine. A rapidly blinking light is like an elevated pulse during exercise—something is happening, and the device is working hard. As things normalize, the pulse slows down.
Understanding Your Specific Model
I can’t stress this enough: the best source of information about your toothbrush’s LED indicators is the user manual. Most electric toothbrush manuals include a section called “Understanding Your Device” or “Charging Information” that explains exactly what each light pattern means. If you’ve misplaced your manual, most manufacturers post them online on their websites.
Audio and Vibration Signals During Charging
Not all toothbrushes rely solely on visual indicators. Some manufacturers have incorporated audio and tactile feedback to communicate charging status.
Beeping and Chiming Sounds
Many modern electric toothbrushes emit a beep or chime when you place them on the charging dock. This auditory cue serves as confirmation that the device has made a proper connection and charging has initiated. Some models use different tones to indicate different states—one beep might mean charging has started, while two beeps could mean the battery is full.
Vibration Patterns
Higher-end electric toothbrushes sometimes use vibration patterns to communicate. Your toothbrush might vibrate once when it’s placed on the charger to indicate that contact has been established. It might vibrate in a specific pattern when charging is complete. This tactile feedback is particularly useful for people who are deaf or hard of hearing, and it’s also helpful when you’re in a situation where you can’t see the LED lights clearly.
Battery Level Indicators
Beyond just knowing whether your toothbrush is currently charging, it’s useful to understand how full the battery is.
Smartphone-Style Battery Display
Some electric toothbrushes, particularly premium models, come with companion smartphone apps that display your toothbrush’s battery level. This is incredibly convenient because you can check your battery status without even picking up the device. If your toothbrush has this feature, you’re essentially getting real-time data about your device’s power situation.
LED Charging Progress Bars
Other models use a series of LED lights that illuminate sequentially as the battery charges. Think of it like a progress bar on a computer. As the battery fills up, more lights turn on. This gives you a visual representation of how much charge your toothbrush currently has.
Smart Display Features
Some toothbrushes have small LCD or LED screens that display battery percentage numerically. If your toothbrush has this feature, you’re getting the most precise information possible about your device’s charging status. You can see exactly how full the battery is and estimate how many more hours of use you’ll get before needing another charge.
Different Charging Methods
Understanding how your toothbrush charges is important because different charging methods have different indicators.
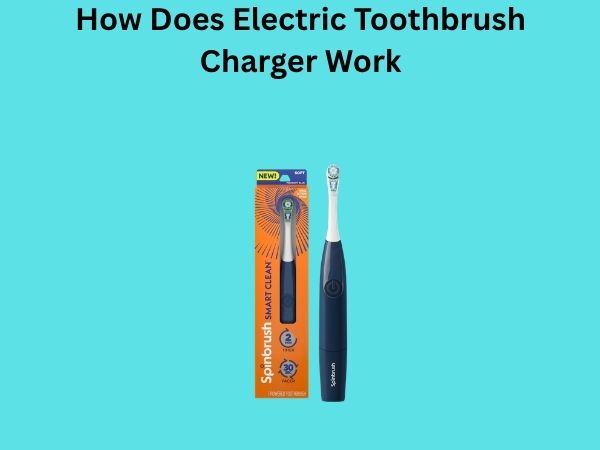
Inductive Charging Docks
Many electric toothbrushes use inductive charging, which means there are no physical contacts between the brush and the dock. Instead, electromagnetic induction transfers power wirelessly. With inductive charging, you’ll typically see a light on the dock itself that indicates charging status. Some docks have their own LED that glows when a compatible device is placed on them.
Advantages and Indicators
Inductive charging is popular because it’s waterproof and durable. Since there are no exposed contacts, your toothbrush can be used in wet bathroom environments without worry. The downside is that you might see lights on the dock but not on the toothbrush itself, which can be confusing. Make sure you know which device the indicator lights belong to.
USB Direct Charging
Some travel-friendly electric toothbrushes charge via USB cable, similar to how you’d charge a smartphone or tablet. With USB charging, you’ll typically see an LED light on the toothbrush handle itself that indicates charging status. Once you plug the USB cable into a power source, look for the LED light to activate.
Contact Pin Charging
Older models and some budget-friendly options use physical contact pins that must touch metal contacts on the charging base. This method is less common now but still exists. With contact pin charging, proper alignment is crucial. If the pins don’t make good contact, charging won’t happen, and you won’t see any indicator lights. This is one of the most frustrating charging methods because misalignment can be hard to detect.
How Long Should Charging Take?
Knowing how long your toothbrush should take to charge is another way to confirm that charging is working properly.
Typical Charging Times
Most electric toothbrushes take between 16 to 24 hours for a full charge. Budget models might charge faster (around 4-8 hours), while premium models with larger batteries might take longer. When you first purchase your toothbrush, it’s standard practice to fully charge it before using it for the first time. This initial charge is particularly important because it helps calibrate the battery.
Quick Charging Features
Some newer models boast quick charging capabilities, claiming a full charge in just 3-4 hours. If your toothbrush takes significantly longer than expected or drastically shorter, it might indicate a charging problem. Compare your actual charging time with the specifications listed in your manual to determine if everything is working as it should be.
What If Charging Seems Too Fast?
If your toothbrush charges in an unusually short time, it doesn’t necessarily mean something is wrong. It could mean the battery is degraded and can’t hold a full charge anymore. However, if the charging time has recently changed dramatically, there might be an issue with the battery or charging mechanism.
Troubleshooting Charging Problems
Sometimes despite your best efforts, your electric toothbrush might not charge properly. Let me walk you through some troubleshooting steps.
No Lights or Indicators Appearing
If you place your toothbrush on the charger and see absolutely no lights, sounds, or vibrations, start with these steps:
- Check the power outlet: Make sure the outlet actually has power. Plug another device into it to confirm.
- Inspect the charger: Look for visible damage, loose cables, or bent pins.
- Clean the charging contacts: If your toothbrush uses contact pin charging, gently clean both the pins on the charger and the contacts on the toothbrush. Sometimes mineral deposits or toothpaste residue can prevent proper contact.
- Reposition the toothbrush: If using inductive charging, try placing the toothbrush at different angles or positions on the dock.
- Try a different outlet: Sometimes the issue is with the outlet, not the toothbrush.
Light Appears but Toothbrush Doesn’t Charge
If you see a light indicating charging, but the battery doesn’t seem to fill up, the problem might be more internal. This could indicate a battery issue rather than a charging problem. However, before assuming the worst, try:
- Leaving the toothbrush charging overnight to see if it eventually charges
- Performing a complete reset if your model supports it
- Checking whether the charger cable is securely connected
Intermittent Charging Problems
If your toothbrush sometimes charges and sometimes doesn’t, you likely have a connection issue. This is common with contact pin charging methods. The solution usually involves cleaning the contacts thoroughly. Use a soft, dry cloth to gently wipe away any debris. In stubborn cases, you can use a slightly damp cloth, but make sure to dry everything completely before attempting to charge again.
Maintaining Your Toothbrush’s Battery Health
Prevention is better than cure, so let’s talk about how to keep your battery in tip-top shape.
Proper Charging Habits
To maximize your battery’s lifespan, follow these charging best practices:
- Don’t overcharge: Remove your toothbrush from the charger once it’s fully charged. Leaving it plugged in indefinitely can degrade the battery over time.
- Avoid complete discharge: Try not to let your battery drain completely before recharging. It’s better to charge when the battery is at around 20% rather than waiting until it’s completely dead.
- Regular use: Actually using your toothbrush regularly is better for the battery than letting it sit idle for long periods.
- Temperature control: Keep your toothbrush at room temperature. Extreme heat or cold can damage rechargeable batteries.
Storage Tips
If you’re storing your toothbrush for an extended period, charge it to about 50% before putting it away. This is the ideal state for battery preservation during storage. When you’re ready to use it again, charge it fully before brushing.
When to Replace Your Battery
All batteries eventually wear out. Even with perfect care, your electric toothbrush’s battery will eventually reach the end of its life.
Signs Your Battery Needs Replacement
Here are the telltale signs that it’s time to get a new battery:
- Your toothbrush dies much faster than it used to, even with a full charge
- The charging time has increased significantly
- The toothbrush doesn’t reach full power anymore, even when fully charged
- The device shows no response to charging for an extended period
- You’ve owned the toothbrush for several years and notice declining performance
Battery Replacement Options
Depending on your toothbrush model, you might have several options. Some toothbrushes have user-replaceable batteries, which makes the process straightforward. Others require professional service or replacement of the entire handle. Check your manufacturer’s website or contact customer service to learn about replacement options for your specific model.
Frequently Asked Questions
Can I Leave My Electric Toothbrush on the Charger Overnight?
While most modern electric toothbrushes have safety features to prevent overcharging, it’s not ideal to leave them plugged in indefinitely. The best practice is to charge your toothbrush fully, then remove it from the charger. Most models take 16-24 hours for a complete charge, so if you plug it in before bed, it will be fully charged by morning and ready for you to disconnect. Occasionally leaving it overnight won’t cause immediate damage, but making it