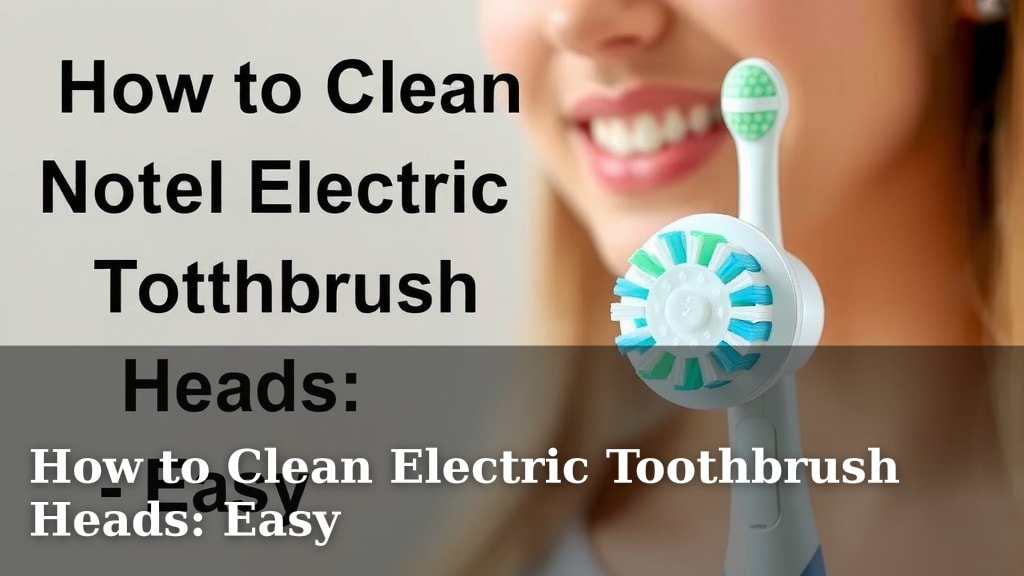
How to Clean Electric Toothbrush Heads: Easy
The easiest way to clean your electric toothbrush head is with warm water and a little soap. You can also use a mouthwash soak for a deeper clean. Keeping your toothbrush head clean helps prevent germ buildup and ensures it works its best.
Your electric toothbrush head works hard every day. Like any tool you use daily, it needs regular cleaning. This simple maintenance not only looks after your oral health but also extends the life of your toothbrush head. We’ve found that a quick rinse after each use is a great habit.
- Rinse with warm water after every brush.
- Use a bit of soap for tougher grime.
- Soak in mouthwash for a thorough clean weekly.
- Dry it well to prevent mildew.
- Replace heads every 3 months.
Ready to make your electric toothbrush sparkle? Let’s walk through exactly how to keep those brush heads fresh and hygienic, step by step.
“`htmlKeeping Your Electric Toothbrush Heads Sparkling Clean
Your electric toothbrush heads are tiny workhorses for your smile. Keeping them clean is more than just making them look nice. It’s about preventing germs from taking up residence. We found that a little effort goes a long way for better oral hygiene.
Daily Cleaning: The Quick Rinse Routine
After each time you brush your teeth, give your toothbrush head a good rinse. This is your first line of defense. It washes away toothpaste residue and any food bits. Just detach the head if you can, and hold it under running warm water. Let the water flow through the bristles for about 15-20 seconds. Make sure to get into all the nooks and crannies. This simple step helps prevent gunk from building up. Many dental professionals recommend this immediate rinse (Cleveland Clinic).
Detaching for a Deeper Rinse
Some electric toothbrushes allow you to easily detach the head. If yours does, this is a great option. It lets you get a more thorough rinse underneath the bristles. You can also use a damp cloth to wipe down the base where the head connects to the handle. This area can sometimes harbor moisture and build-up. Gently cleaning here ensures a better fit and keeps the connection point hygienic.
Weekly Cleaning: A More Thorough Approach
Once a week, it’s a good idea to give your toothbrush head a more intensive clean. This helps tackle any stubborn toothpaste or mineral deposits. You can also use this time to deep clean if you’ve been feeling under the weather. A little extra attention ensures maximum freshness.
The Soap and Water Scrub
For a more robust weekly clean, use a bit of mild soap. Apply a tiny drop of liquid hand soap or dish soap onto the bristles. Gently work it in with your fingers, creating a light lather. Then, rinse thoroughly under warm running water until all the soap is gone. Make sure there’s no soapy residue left behind. This method is great for removing any grime that daily rinsing might miss.
The Mouthwash Soak Method
Another effective weekly cleaning method involves mouthwash. Fill a small cup with a bit of your regular mouthwash. Submerge the toothbrush head in the mouthwash. Let it soak for about 10-15 minutes. This isn’t just about killing germs; it can help disinfect the bristles and freshen them up. After soaking, rinse the head well with warm water. This soak can be particularly beneficial if you’ve shared the toothbrush or if you feel your mouth needs an extra hygiene boost. Some studies suggest that certain mouthwash ingredients can help reduce bacterial load (NCBI).
What About Baking Soda?
You might be wondering about baking soda. While baking soda is a fantastic cleaner for many things, it’s generally not recommended for toothbrush heads. Its abrasive nature could potentially damage the delicate bristles over time. Sticking to soap, water, and mouthwash is usually the safest bet for your toothbrush head. We want to keep those bristles effective for cleaning your teeth!
Drying Your Toothbrush Head Properly
This step is often overlooked but is super important. After cleaning and rinsing your toothbrush head, you need to dry it. Leaving it wet can encourage the growth of mildew and bacteria. Stand the toothbrush head upright in a holder or cup. Allow it to air dry completely between uses. You can also gently shake off excess water before placing it upright. Proper drying is a key component of maintaining a hygienic brush head. Many experts stress the importance of keeping oral hygiene tools dry between uses (CDC).
When to Replace Your Electric Toothbrush Heads
Even with the best cleaning routine, toothbrush heads don’t last forever. The bristles wear down over time. Worn bristles are less effective at cleaning your teeth. This can lead to plaque buildup. Most manufacturers and dental health organizations recommend replacing your toothbrush head every three months. If you notice the bristles fraying, spreading out, or looking flattened before then, it’s time for a change. Also, if you’ve been sick, especially with a cold or flu, it’s a good idea to replace your head afterwards to avoid reinfection. Your oral health is worth this small investment.
| Task | Frequency | Why It’s Important |
|---|---|---|
| Rinse with warm water | After every use | Removes toothpaste and food debris |
| Soap & Water Scrub | Once a week | Tackles stubborn grime |
| Mouthwash Soak | Once a week (alternative) | Disinfects and freshens bristles |
| Air Dry Completely | Between uses | Prevents mildew and bacteria growth |
| Replace Head | Every 3 months or sooner | Ensures effective cleaning, prevents reinfection |
Your Simple Toothbrush Head Checklist
Want an easy way to remember all this? Keep this checklist handy:
- Rinse your brush head with warm water after every brushing session.
- Once a week, give it a gentle scrub with mild soap and water.
- Consider a weekly mouthwash soak for extra freshness and disinfection.
- Always stand your brush head upright to air dry completely.
- Mark your calendar to replace your brush head every three months!
Conclusion
You’ve now learned the simple secrets to keeping your electric toothbrush heads clean and hygienic. Remember, a quick rinse after each use is your daily defense. A weekly soap scrub or mouthwash soak provides that deeper clean. Proper drying is key to preventing unwanted growth between brushes. By following these easy steps, you ensure your toothbrush head works effectively and contributes to your overall oral health. Make these habits part of your routine, and you’re set for a cleaner, healthier smile. Your next step is to grab your toothbrush and give it that refreshing clean right now!
Frequently Asked Questions
How often should I really be rinsing my electric toothbrush head?
You should rinse your electric toothbrush head with warm water after every single use. This simple habit is the most effective way to remove toothpaste residue and food particles. It prevents buildup and keeps your brush head fresh for its next use.
Can I use the same soap I use for my hands on my toothbrush head?
Yes, a small amount of mild liquid hand soap or dish soap is generally safe for cleaning your toothbrush head. Just be sure to rinse it thoroughly afterward to remove all soap residue. This helps tackle any grime that daily rinsing might miss.
Is it really necessary to air dry the toothbrush head?
Absolutely! Air drying your toothbrush head completely between uses is very important. Leaving it wet can create a breeding ground for mildew and bacteria. Standing it upright allows for better airflow and faster drying, promoting better hygiene.
My toothbrush head looks okay, can I skip replacing it every three months?
While it might look fine, the bristles on your electric toothbrush head wear down over time. Worn bristles are less effective at cleaning your teeth and can lead to plaque buildup. Replacing it every three months, or sooner if you notice fraying, ensures optimal cleaning power.
What’s the best way to clean my electric toothbrush head if someone else used it?
If someone else has used your toothbrush head, it’s best to give it an extra thorough cleaning. We recommend a good rinse with warm water followed by a deep soak in mouthwash for about 15 minutes. After soaking, rinse it well with warm water again to ensure it’s disinfected and fresh.