How to Change Your Electric Toothbrush Head Easily
Changing your electric toothbrush head is super simple! You can usually twist and pull off the old one and snap on a new one in just a few seconds. This regular replacement helps ensure you’re getting the cleanest possible brush every time you power up.
Keeping your toothbrush head fresh is key to good oral hygiene. Many dental professionals recommend replacing your brush head every three months, or sooner if the bristles start to fray. A worn-out head just won’t clean as effectively, and you might miss out on that dentist-clean feeling.
- Quick twist and pull action.
- New head snaps right on.
- Replace every 3 months.
- Fresher clean for your teeth.
Ready to give your smile a refresh? Let’s walk through exactly how to swap out that old brush head for a brand new one, step by step.
“`htmlSwapping Your Electric Toothbrush Head: A Simple Guide
Ready to give your smile a little upgrade? Changing your electric toothbrush head is a breeze. You’ll be done in a minute or two. This simple task keeps your brushing effective. Think of it like changing the blades on a razor. A dull blade doesn’t do the job right. A worn toothbrush head is the same for your teeth.
Why Regular Replacement Matters
You might wonder why this little head needs swapping so often. It’s all about hygiene and effectiveness. Your toothbrush head is your frontline defense against plaque. Over time, the bristles wear down. They can bend, fray, or even break. This wear and tear means they can’t reach all the nooks and crannies in your mouth. Many dental associations recommend changing your brush head every three to four months.
Research has shown that worn bristles can make your brushing less effective. You might be spending time brushing, but not getting the clean you expect. This can lead to plaque buildup. Plaque can cause cavities and gum disease over time. Keeping your brush head fresh ensures you’re getting the best clean possible. It’s a small step for a healthier smile.
When to Make the Switch: Signs of Wear
Sometimes, three months can feel like a long time. How can you tell if your brush head needs changing sooner? Look closely at the bristles. Are they splayed out, looking a bit like a startled dandelion? If the bristles are no longer standing straight, they’ve lost their power. Also, if the color indicator bristles have faded significantly, it’s a sign they’ve seen better days.
Many electric toothbrush brands include indicator bristles. These are often colored and fade over time. This fading is a visual cue from the manufacturer. It tells you the brush head is likely due for a change. Don’t wait until your toothbrush feels “off.” A quick visual check can save you from a less effective clean.
The Step-by-Step Process to Change Your Head
Now, let’s get down to business. Changing the head is usually straightforward. Most major brands follow a similar, simple design. This makes the process quick and easy for everyone.
Step 1: Detach the Old Brush Head
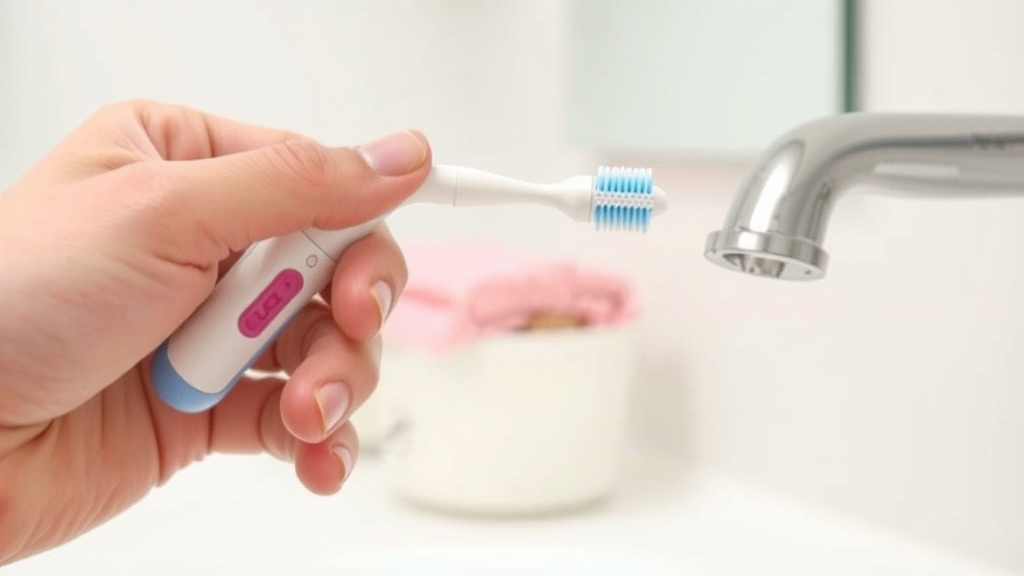
First, take a look at your electric toothbrush. You’ll see the handle, which contains the motor and battery. Attached to the top of the handle is the brush head. You don’t need any tools for this. Simply hold the handle firmly. Then, grasp the brush head. Give it a gentle but firm pull straight up. It should detach easily. Some models might require a slight twist as you pull. Check your toothbrush’s manual if you’re unsure. It’s usually a simple up-and-away motion.
Don’t force it. If it feels stuck, double-check that you’re pulling straight up. Sometimes, a little wiggle can help. We found that most users can remove the old head without any struggle. It’s designed for easy replacement. This ensures you’re not fussing with it for too long.
Step 2: Clean the Handle (Optional but Recommended)
While the brush head is off, it’s a great time for a quick clean. Take a damp cloth or a cotton swab. Gently wipe around the metal shaft or plastic connector where the brush head attaches. You might find a little toothpaste residue or water spots. Getting rid of this debris helps ensure a snug fit for the new head. It also keeps the toothbrush handle looking fresh and clean.
This step is often overlooked. However, a clean connection point can prevent build-up. That build-up could potentially affect how well the new head seats. It’s a good practice for overall toothbrush maintenance. Plus, who doesn’t love a sparkling clean gadget?
Step 3: Attach the New Brush Head
Now for the exciting part – the fresh, new brush head! Take your new replacement head out of its packaging. Make sure it’s the correct model for your toothbrush handle. Look at the connector on the new head. It should align with the metal shaft or plastic post on your toothbrush handle. Gently push the new brush head onto the handle. You should feel or hear a slight click as it locks into place.
It should feel secure and snug. Give it a gentle tug to make sure it’s attached properly. Again, no forcing is needed. It’s designed to snap on easily. If it doesn’t seem to fit, ensure you have the right head model. Some brands offer different brush heads for different needs, but they are usually interchangeable within the same series.
What If It Doesn’t Click? Troubleshooting Tips
If you don’t hear a click or the head feels loose, don’t panic. First, remove the head and re-align it. Ensure there’s no packaging material still attached. Check the handle’s connection point for any obstructions. Sometimes, a tiny bit of dried toothpaste can prevent a proper fit. A quick wipe should solve that. If you’re still having trouble, consult your toothbrush’s user manual.
Many manufacturers provide detailed diagrams. These can help you see the exact alignment. If the head is genuinely loose after trying these steps, it might be a manufacturing defect. Contacting the customer service for your toothbrush brand is a good next step. They can offer specific advice or arrange a replacement.
Choosing the Right Replacement Head
Did you know there are different types of brush heads available? Most brands offer a few variations. These can cater to specific dental needs. For example, you might find heads designed for whitening. Others focus on gum care or sensitive teeth. You can also find multi-packs to save money.
Here’s a quick look at common types you might encounter:
| Brush Head Type | Best For |
|---|---|
| Standard/All-Purpose | Everyday cleaning and plaque removal. |
| Sensitive | People with sensitive teeth or gums. Softer bristles. |
| Whitening | Designed to help polish away surface stains. |
| Deep Clean/Interdental | Reaching between teeth and along the gumline. |
| Orthodontic | Brushing around braces and dental work. |
When buying replacements, always check that the head is compatible with your specific electric toothbrush model. The packaging will usually list the compatible toothbrush series. Buying in bulk can be a smart way to ensure you always have a fresh head on hand. It also often saves you a bit of cash.
Making Brush Head Replacement a Habit
To keep your oral hygiene top-notch, make changing your brush head a routine. Think of it like changing your air filter at home. You do it regularly to keep things running smoothly. Your mouth deserves the same consistent care.
Here’s a simple checklist to help you remember:
- Note the date you put on a new brush head.
- Set a reminder on your phone for 3 months later.
- Visually inspect bristles weekly for fraying.
- Purchase replacement heads in advance.
- Consider buying multi-packs for convenience.
- If you get sick, consider replacing it sooner.
By following these simple steps, you ensure your electric toothbrush is always working its hardest for your smile. It’s a small effort that yields significant results for your dental health. So next time you brush, take a moment to appreciate that fresh head – it’s working hard for you!
“`Conclusion
You’ve learned just how easy it is to swap out your electric toothbrush head. Remember, this simple habit is key to maintaining excellent oral hygiene and ensuring your toothbrush works its best. By following these steps, you’re making a small investment in your dental health. It helps prevent plaque buildup and keeps your smile feeling fresh. Make it a point to check your bristles regularly and don’t hesitate to replace the head every three months, or sooner if you notice wear. You’re just a few seconds away from a cleaner, healthier mouth!
Frequently Asked Questions
How often should I really change my electric toothbrush head?
Most dental professionals recommend replacing your electric toothbrush head every three to four months. However, you should also change it sooner if the bristles start to look frayed or splayed out. Visually inspecting your brush head weekly can help you determine the best time to switch.
What happens if I don’t change my electric toothbrush head often enough?
If you don’t replace your brush head regularly, the bristles will become less effective at cleaning. Worn bristles can’t remove plaque as well, potentially leading to cavities and gum problems. You might also miss out on that dentist-clean feeling you’re looking for.
Can I use a brush head from a different brand than my toothbrush handle?
Generally, it’s best to stick with brush heads designed for your specific electric toothbrush model or brand. While some may be compatible, using a non-compatible head could lead to a poor fit, reduced cleaning effectiveness, or even damage to your toothbrush.
My new brush head feels a little loose after attaching it. What should I do?
First, remove the new brush head and re-align it carefully with the handle’s connection point. Ensure there are no obstructions like dried toothpaste residue. If it still feels loose, double-check that you have the correct replacement head model. If problems persist, consult your toothbrush’s manual or contact customer support.
Is it okay to use the same electric toothbrush head if I’ve been sick?
Yes, it’s a good idea to replace your electric toothbrush head after you’ve been sick. Bacteria from your mouth can linger on the bristles. Swapping to a fresh head helps prevent reinfection and ensures you’re starting with a clean brush for your recovery and ongoing oral care.